Setting up a Raspberry Pi for Phototicket TV
Phototicket TV requires a Raspberry Pi 3B or later.
Booting from a USB flash drive
By default, some Raspberry Pis will boot from an SD card but not from a USB flash drive. Booting from a USB flash drive is more reliable than from an SD card. If your Raspberry Pi will not boot from a USB flash drive, follow the Configuring a Raspberry Pi to boot from a USB flash drive instructions.
Preparing the USB flash drive
Download the Phototicket TV Raspberry Pi image.
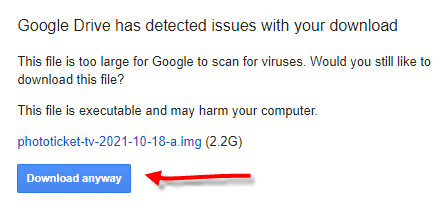
Click the download icon then select Download anyway:
Download, install and run the Raspberry Pi Imager.
Select CHOOSE OS:

Scroll to the bottom of the list and select Use custom:

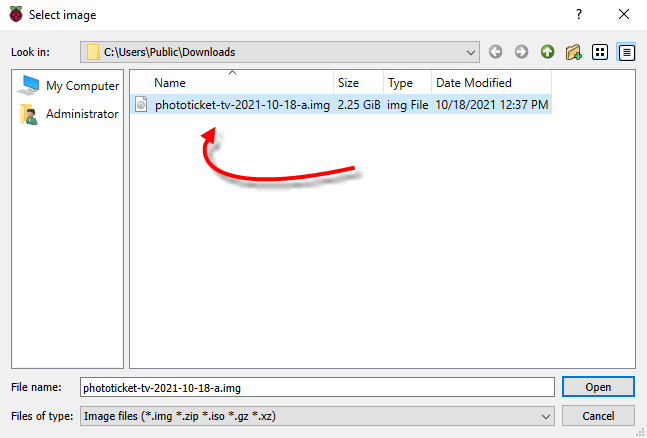
Select the downloaded Phototicket TV Raspberry Pi image:
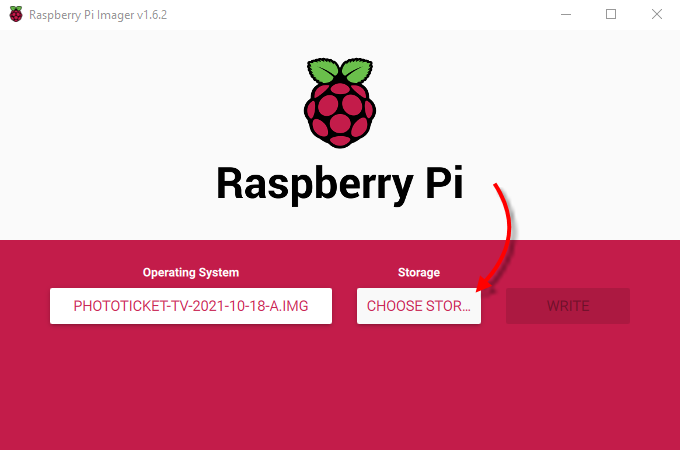
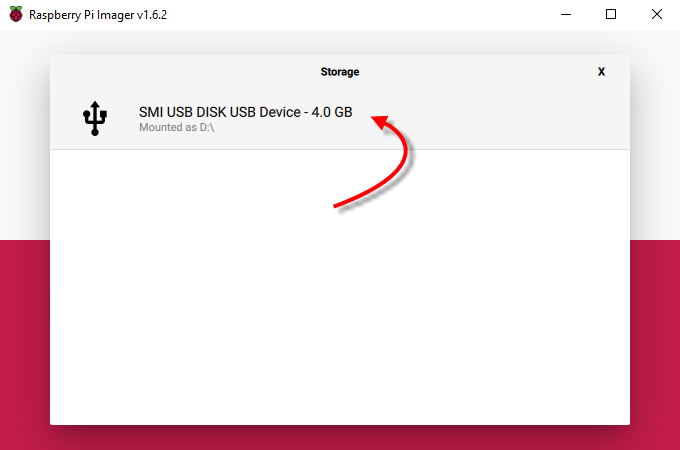
Select CHOOSE STORAGE:
Select your USB flash drive:
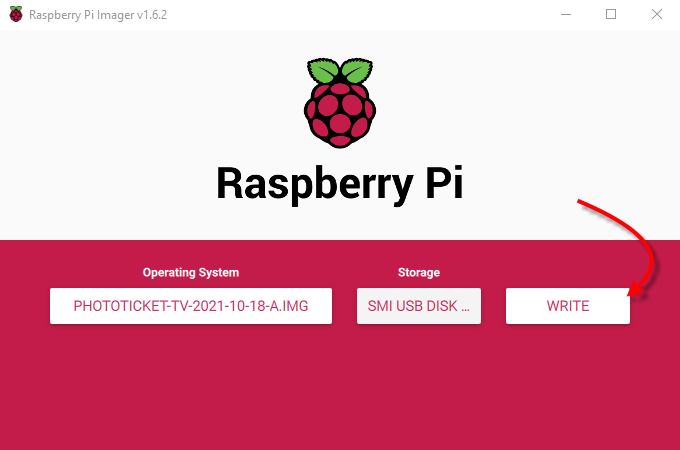
Select WRITE:
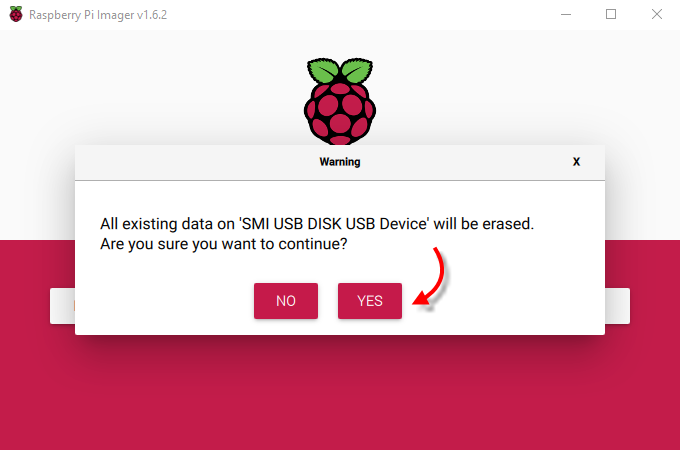
Select YES:
Grab yourself coffee:
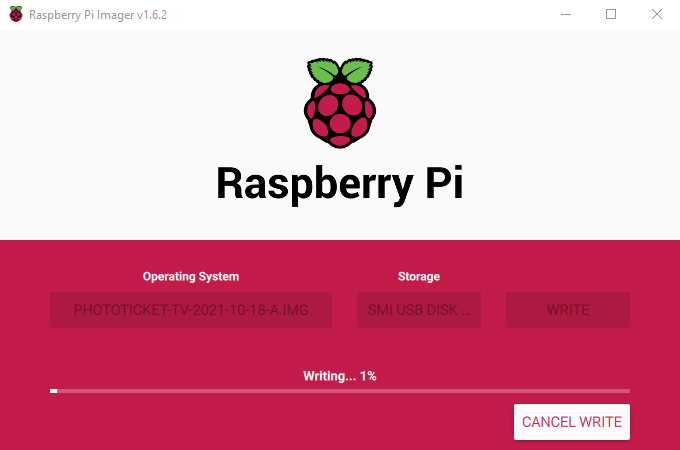
The image will be written to the USB flash drive and then verified.
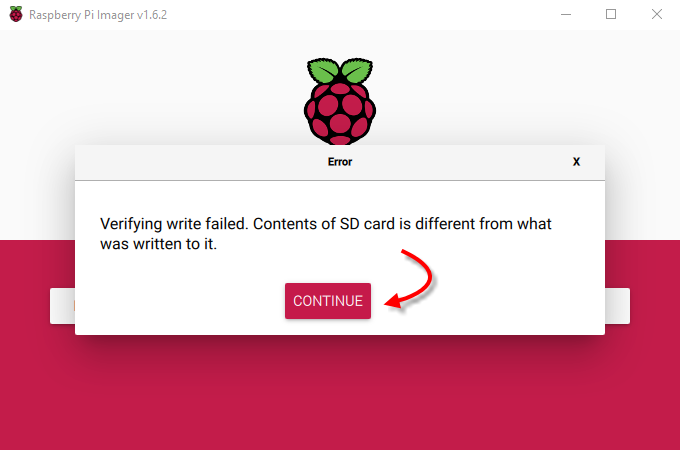
If the verification fails, you'll see an Error dialog. Select CONTINUE and try again or try a different USB flash drive:
If the verification succeeds, you'll see a Write Successful dialog. Select CONTINUE:

Eject the USB flash drive:

Insert the USB flash drive onto the Raspberry Pi, ensure the network and HDMI cables are connected at both ends and power it on.
On first boot, the Raspberry Pi will expand the root filesystem, set a hostname based on the MAC address of the ethernet adapter, generate SSH keys and reboot.
On second boot, the Raspberry Pi will start the Phototicket TV registration process. This process takes a few minutes to begin and the screen will be blank for most of this time. Be patient: